Showing posts with label seal skin. Show all posts

Sunday, December 22, 2013

1200 beads

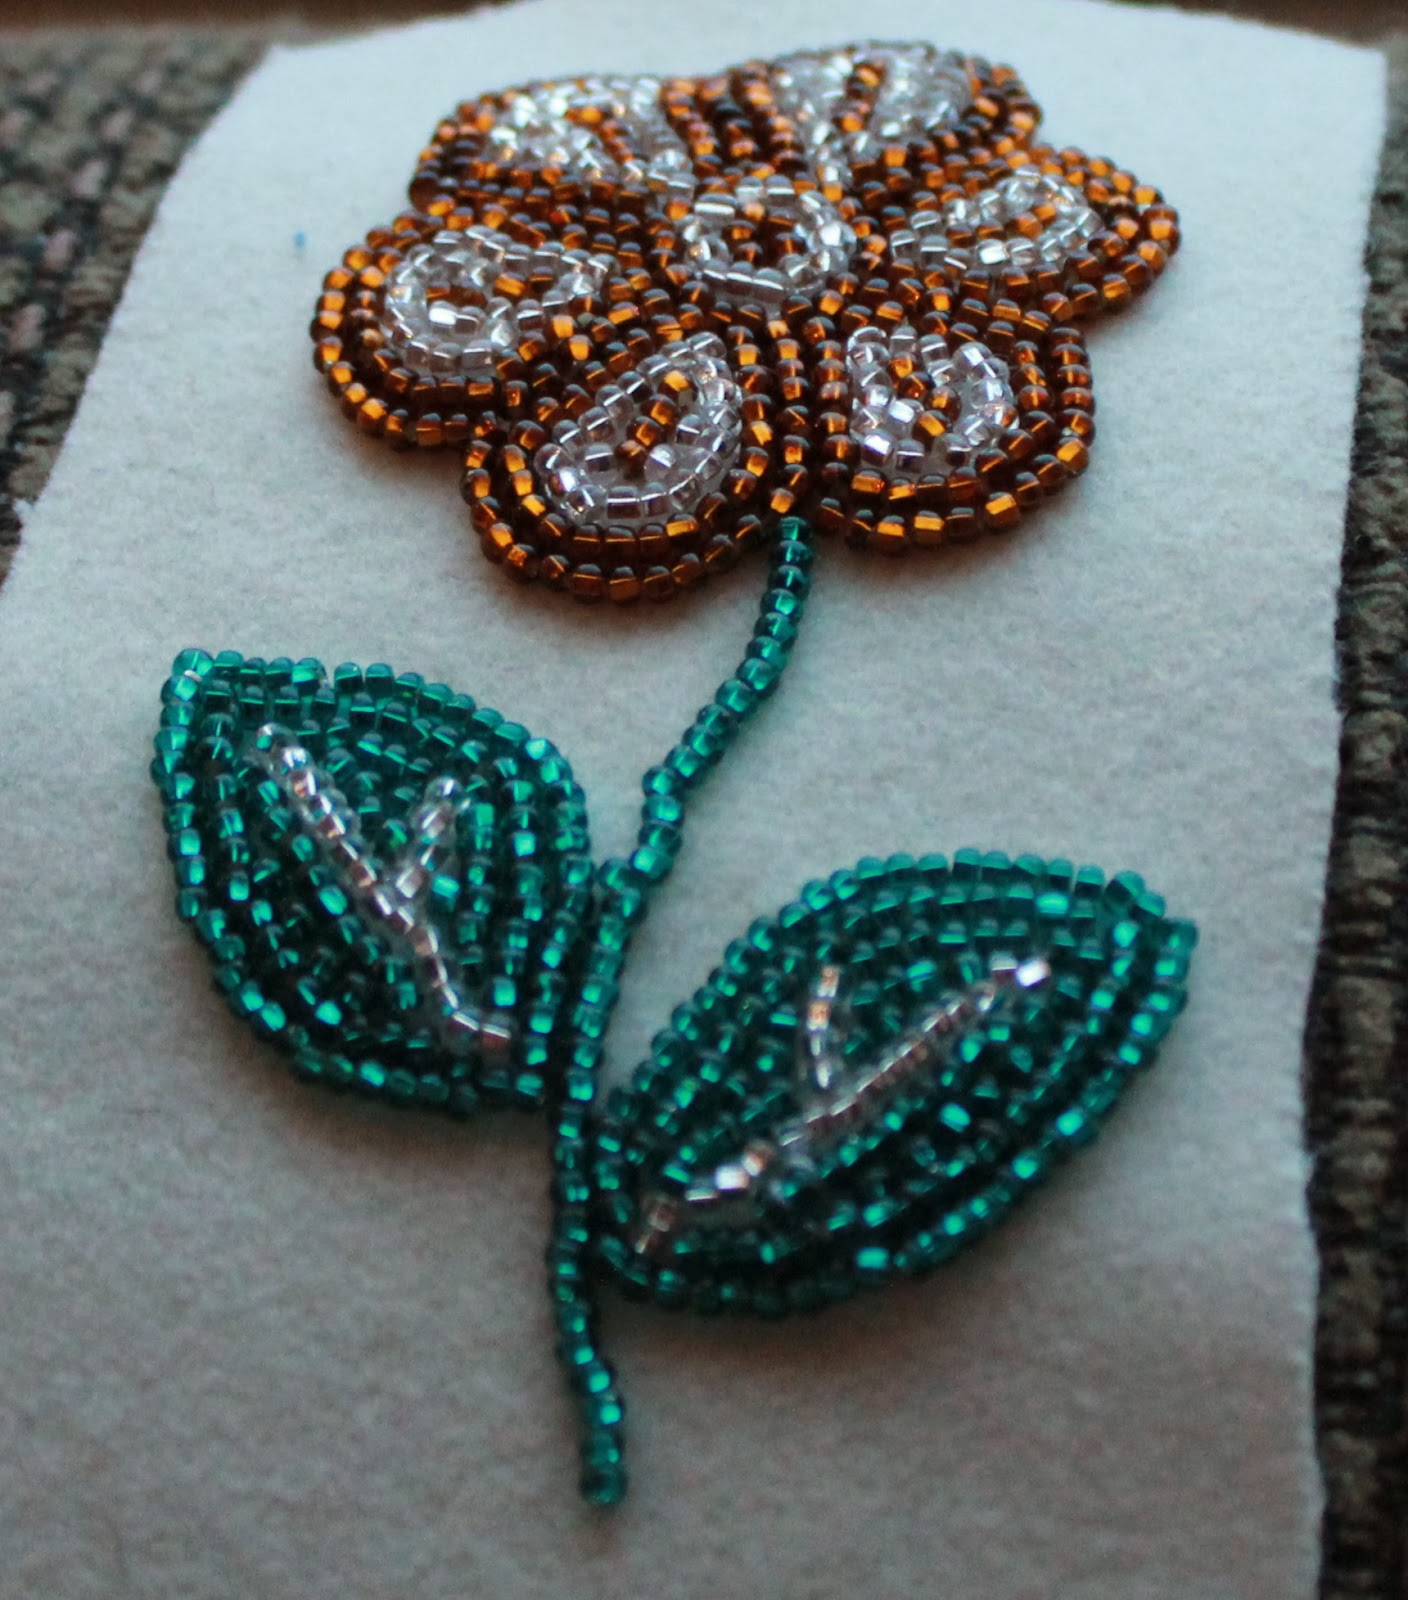
For Black Friday weekend, our neighbour had a sale at her fabric and fur store (in her garage), and I picked up some beads to try my hand at beading. I've been oogling over some of the beautiful beaded moccasins since I got here 6 months ago, and decided that after successfully making my own kamiks, it was time to make some!

This upper took about 1200 beads (individually stitched) and around 12 hours to make. One more to go before I can start cutting the pattern for the rest of the moccasin.

Last night we celebrated Winter Solstice (the darkest and shortest day of the year) by lighting up some sparklers to brighten the night's sky. 
We didn't all have it quite figured out...


This morning was a community pancake breakfast. For $2 a plate, we couldn't pass it up! 


And I thought it was about time I showed off my awesome sealskin and beaver mitts that I got at the Christmas Bazaar in November, made by a woman named Suzie! My family and friends here are calling me a "lifer" now that I have office Nunavut mitts and plan on staying here for who knows how long! (they would say for life)


Thursday, October 3, 2013

kamiks

Now that it's fall, many of the ladies in town (and occasionally a guy or two) will get together Monday and Wednesday nights for sewing class. They provide all of the materials, teach you how to make whatever you're making, and you pay for your project when you're finished. 

I was looking around town for someone to make me some kamiks (mukluks), but then I went to sewing and found this gorgeous seal skin: 

Just the right size to make tall, stylish kamiks.
 After finding the right size pattern for me, I traced it on the back of my hide.


Then one of the instructors showed me how to use the ulu to cut out the pattern. Using scissors would damage the fur on the other side.


To making cutting easier, it's best to put your foot or knee on one side of the hide to keep it taught.


The finished tops of my kamiks:


The patterns for the toes:


All of the pieces cut:

I decided to do a silver toe instead of continuing the spotted pattern - to add a little bit of excitement and contrast.

I finished sewing the toe on one, and half of the other. Next will be to stitch the back!